Lethabo Moroka
1 year, 7 months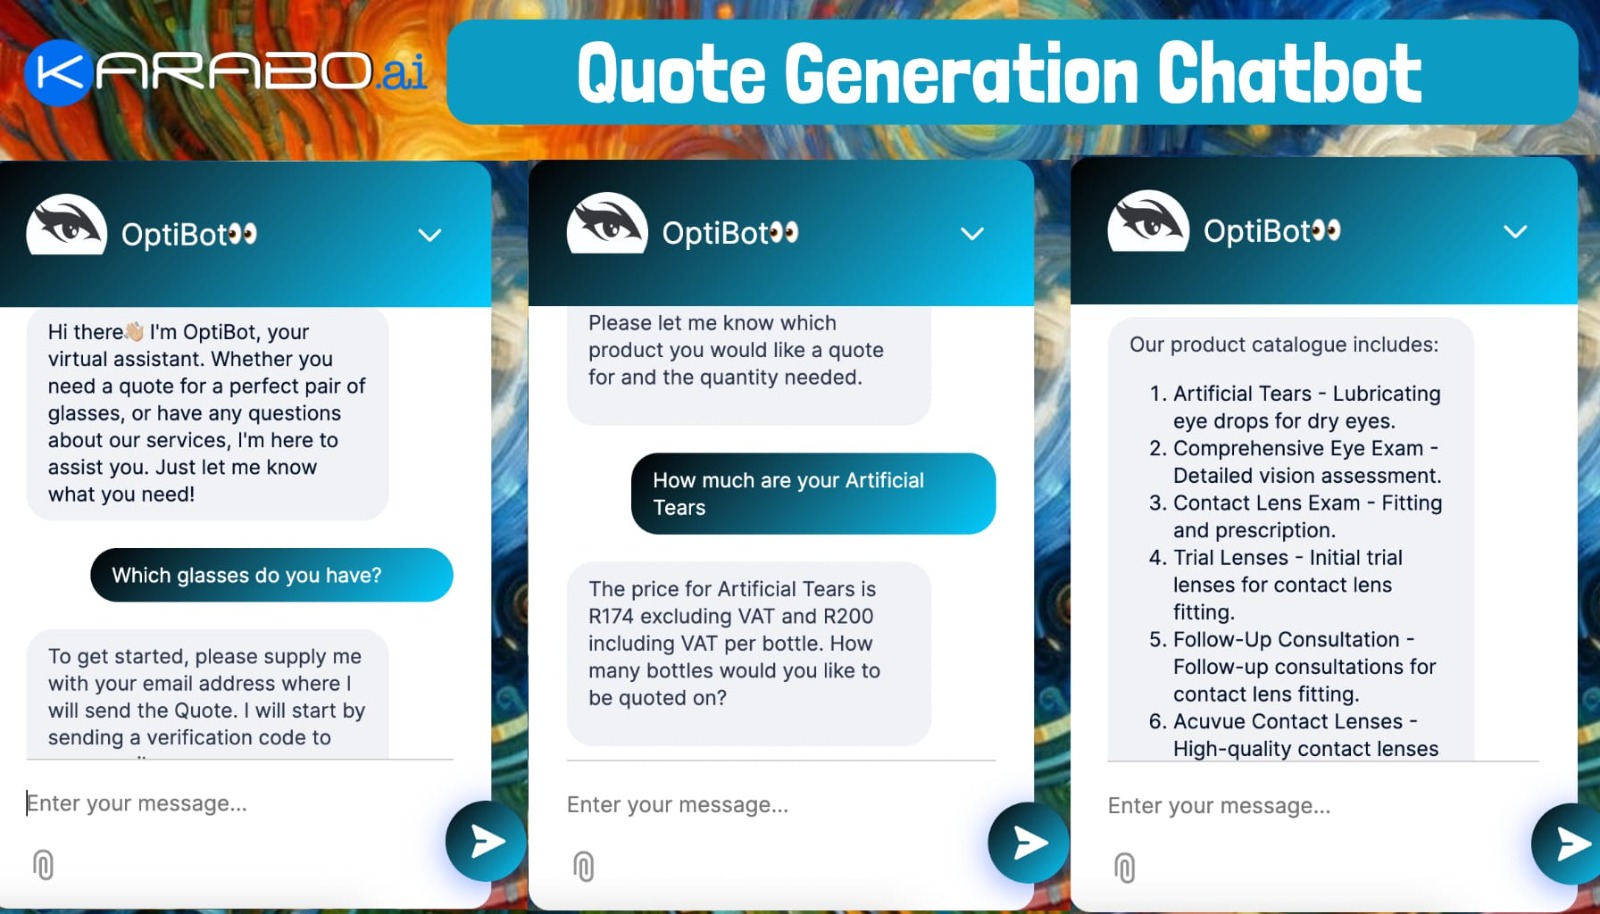
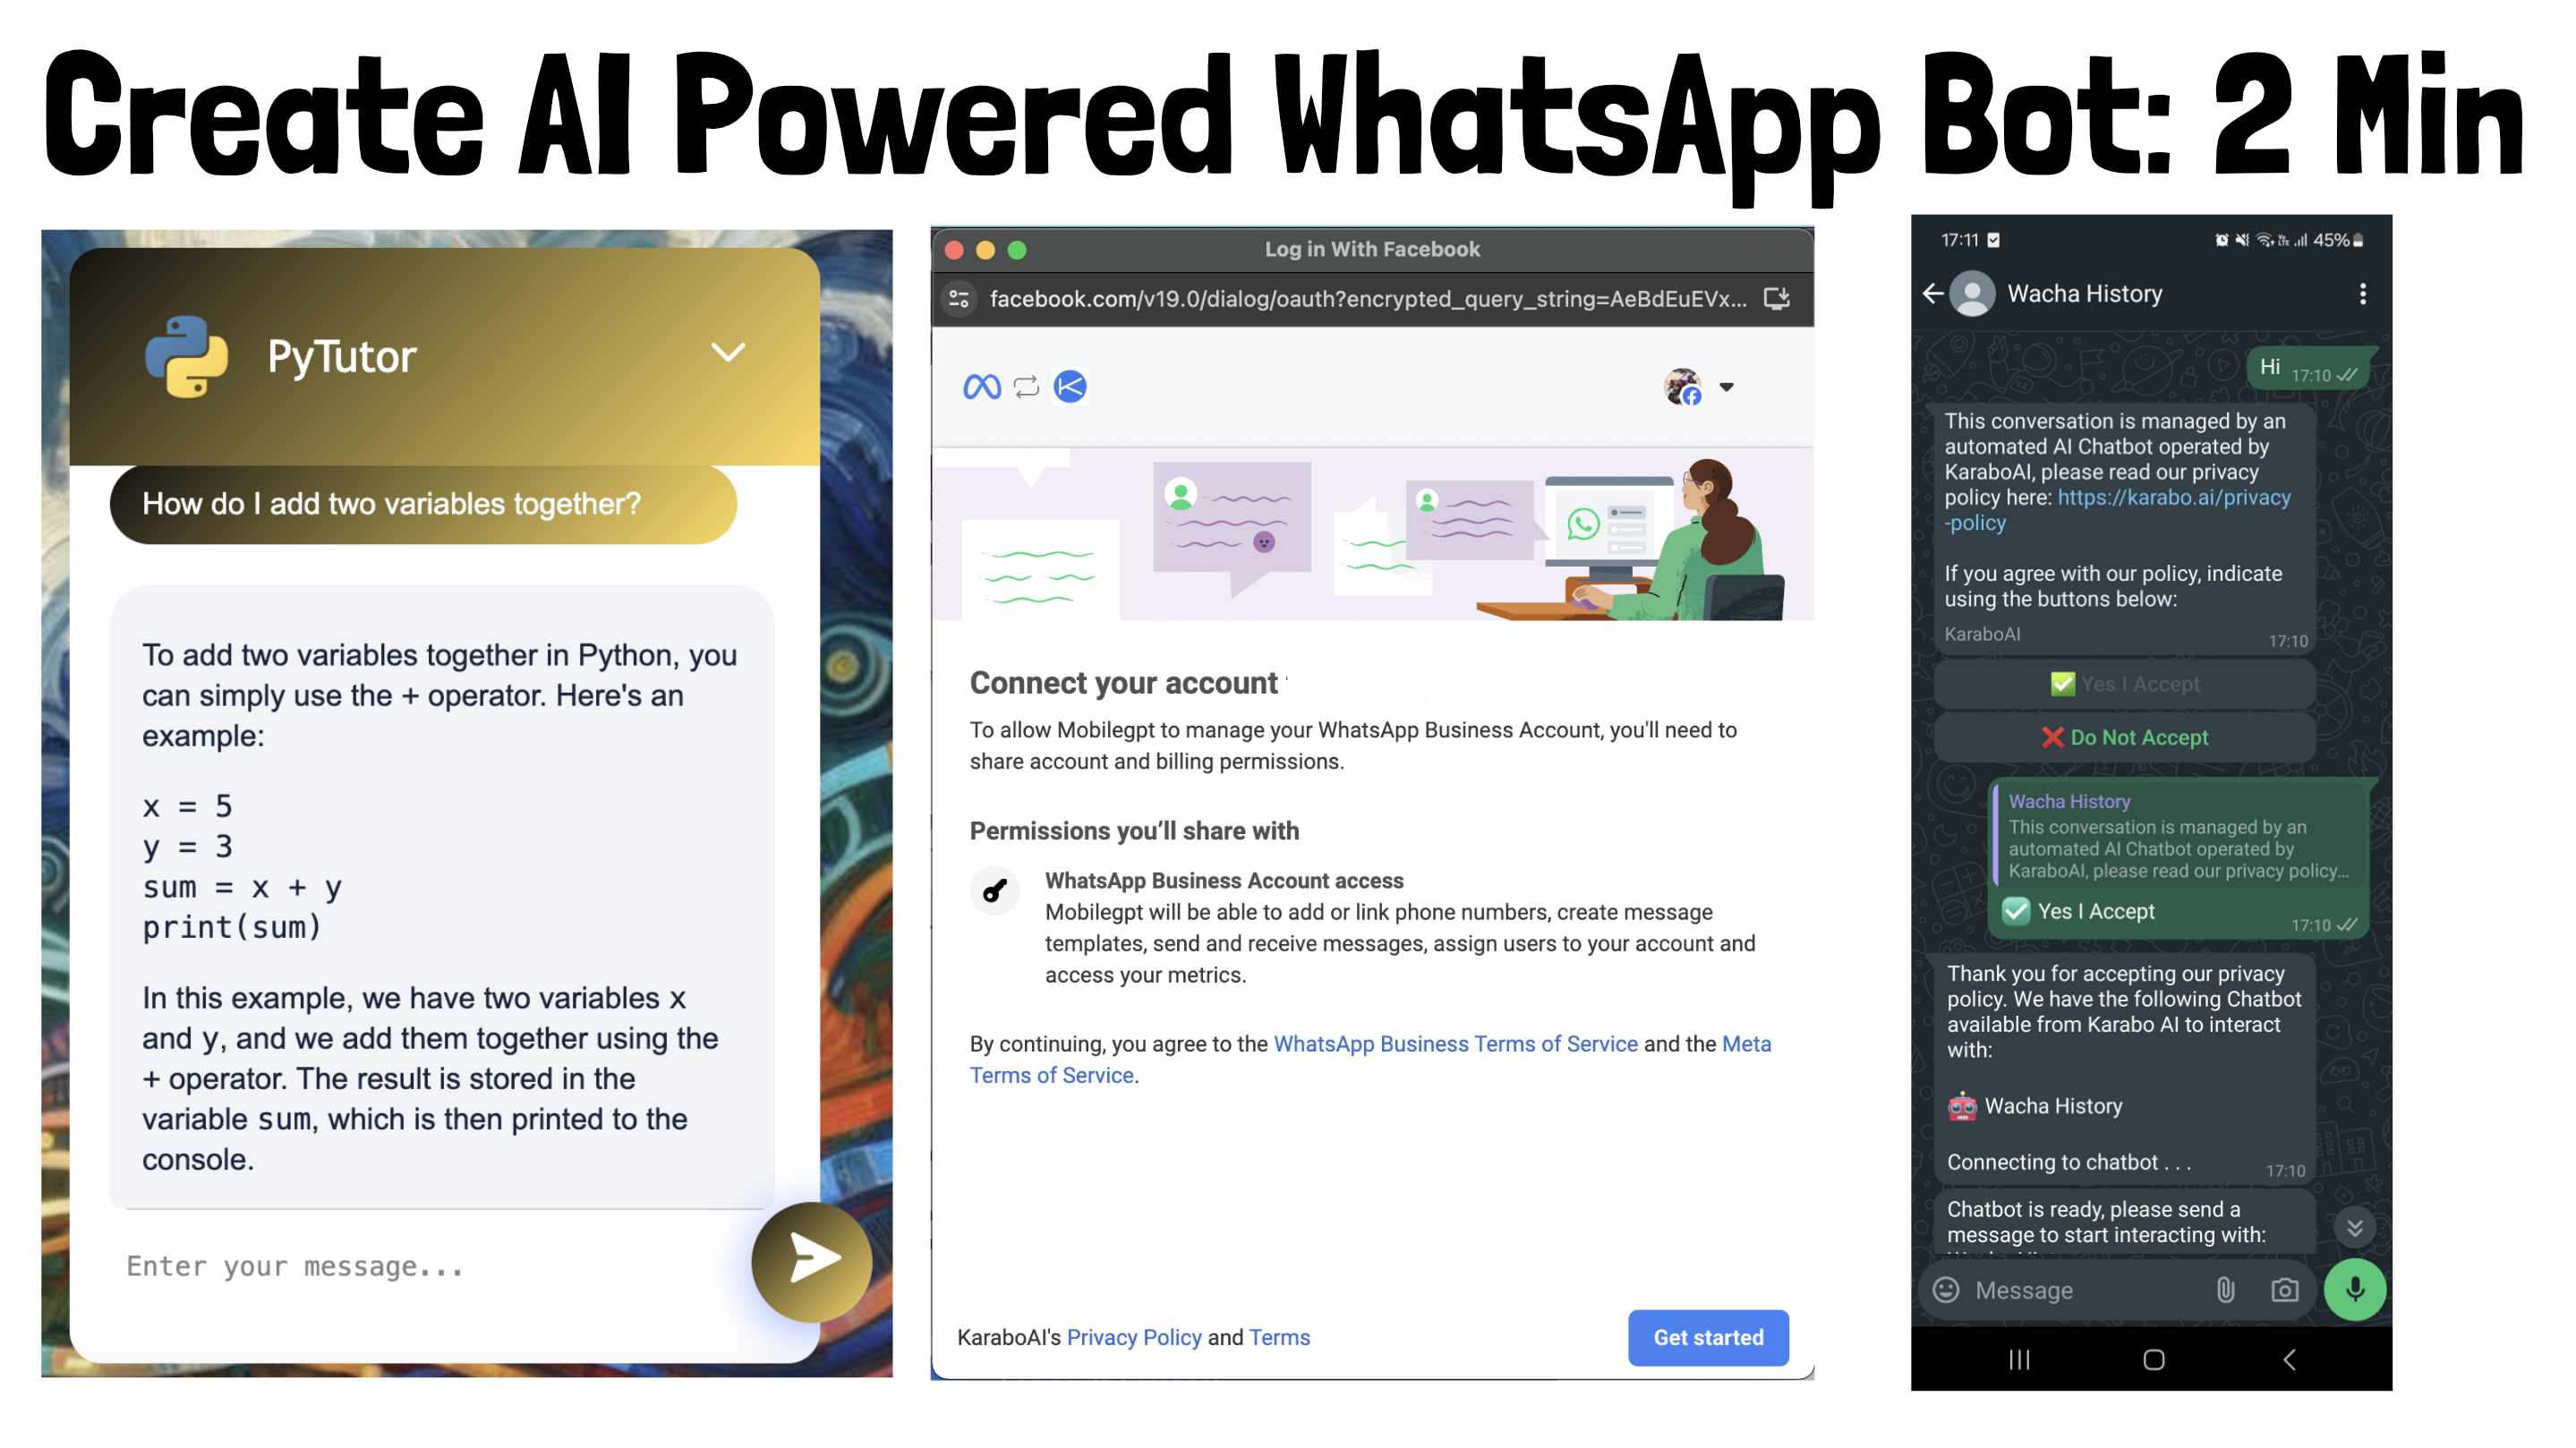
How To: Create Quote Generation Chatbot
This is a quote generation bot designed to streamline the process of generating and sending quotes. By feeding it your business catalog, the bot can generate accurate quotes based on user requests and specific criteria. Once a quote is generated, it is automatically sent to the user via email. This bot is particularly useful for businesses that need to quickly provide personalized quotes without manual intervention, saving time and reducing the risk of errors. It ensures that users receive timely and precise quotations, enhancing the efficiency of your sales process and improving customer satisfaction.
Step 1: Add Products
Before you start with the Quote Generation Chatbot, please download the product and services template. We need your product and service information in this exact template if you will upload a catalogue instead of adding products one by one. Download the template here.
You can add products manually one by one or upload the catalog we mentioned above.
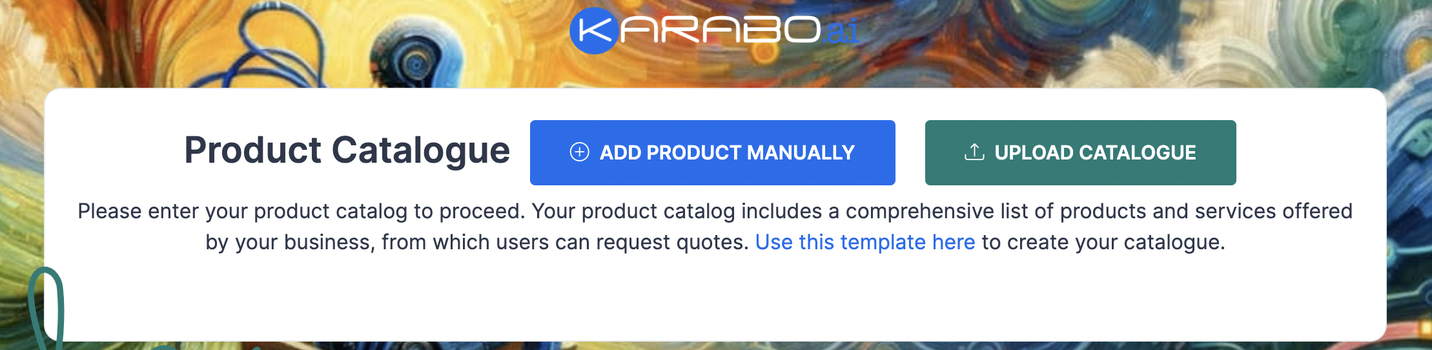
- Choose to upload the template. All the products you listed in that template will appear in a table.
- Click "Delete" to remove a product from the list.
- Click "Add Product Manually" to add more products.
- Click "Upload Catalog" to upload another catalog. This will add to the list of products you currently have.
Step 2: Confirm Details
Make sure all your product information is correct. You will then click “Proceed with Chatbot.”

Step 3: Configure Your Chatbot
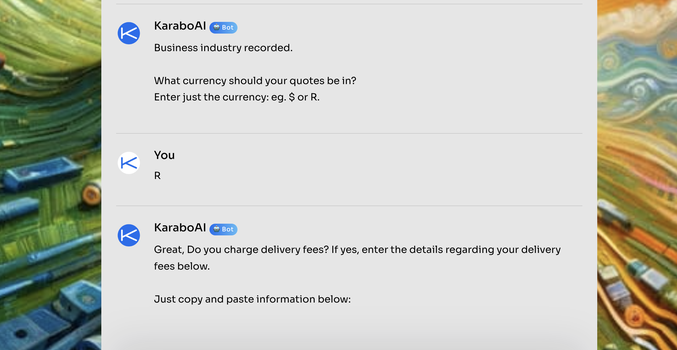
Here you will be asked to:
- Name your bot — You can edit this later.
- Specify the industry your bot is in.
- Set the currency to be used when quoting clients, e.g., R or $.
- Include delivery fees — If applicable, specify them.
- Describe payment terms — Explain how payments work.
- Set the validity period for quotes — Enter the number of days a quote is valid (e.g., 30 days or 60 days).
- Provide your website URL — Type "pass" if you don't have one.
- Enter business contact information — Include your email address, phone number or address.
When done, type "Train" to start training your chatbot.
Step 4: Build, Design & Test Your Chatbot
You will be redirected to a page where you can design the look and feel of your chatbot, and even test it.
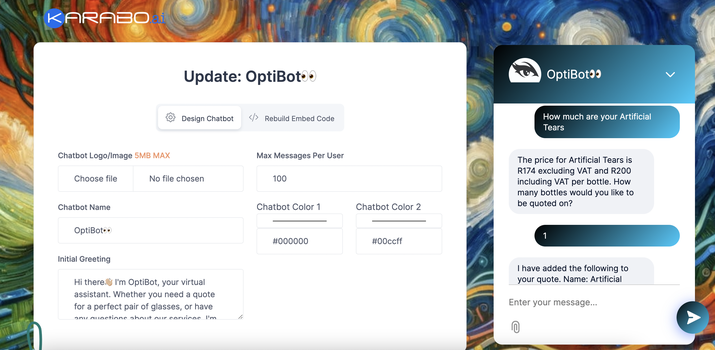
- Add your logo
- Edit the chatbot name
- Increase chat limits per user
- Choose chatbot colors
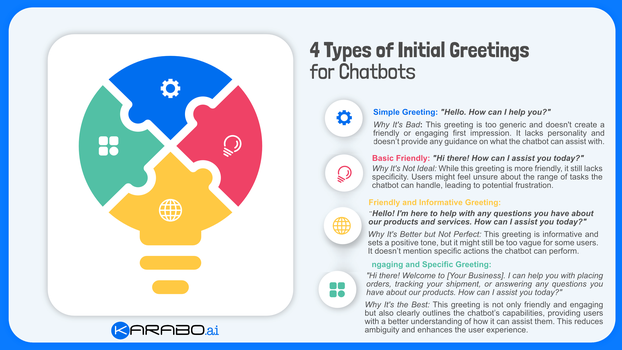
- Set an initial greeting — This is important. Craft it in a way that interests users and makes them comfortable. Check the image below for some tips:
Step 5: Test and Deploy

Test the bot in the preview. When you are happy, click "Embed Chatbot" to deploy it.
Note that our bots will always ask users for their email by default to verify them, and may also ask for full names, business names, and addresses if you choose to include them. This information can be included in the quote if you want to see it there.