Lethabo Moroka
1 year, 9 months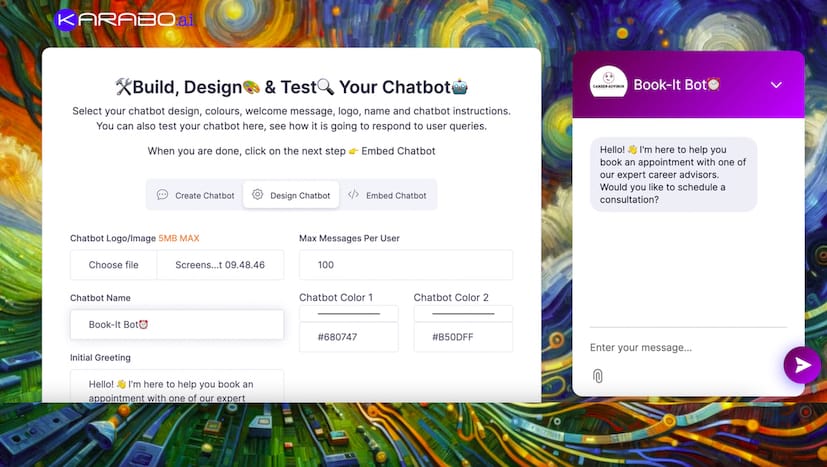
How to: Create an Appointment/Calendar Bot with KaraboAI
This guide will walk you through the steps to set up your very own appointment bot, making it easy for anyone to book time with you or your business. Whether you're a first-timer or an experienced user, we've got you covered. First, let us tell you about what an Appointment/Calendar Bot is.
What is an Appointment/Calendar Bot?
An Appointment/Calendar Bot is a smart assistant designed to help you manage your appointments and calendar with ease. Think of it as your personal scheduling helper that works 24/7, making it super easy for people to book appointments with you.
Here's what it does:
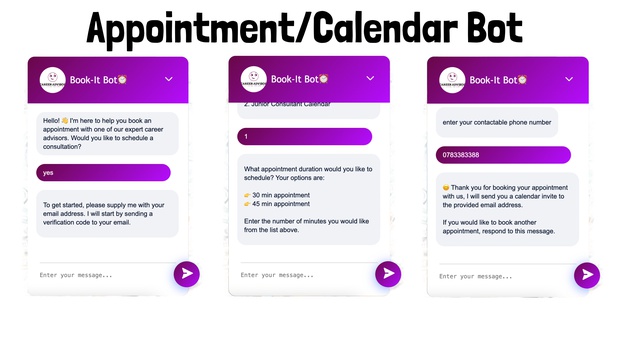
- Schedules Appointments: The bot allows users to book appointments directly through a chat interface. No more back-and-forth emails to find a suitable time!
- Manages Your Calendar: It keeps track of your available times and ensures there are no double bookings.
- Collects Information: When someone books an appointment, the bot can gather necessary information like names, contact details, and specific requests.
- Sends Reminders: It can send automated reminders to ensure that both you and the person booking the appointment don't forget about it.
- Customizable: You can customize the bot to match your brand's look and feel, including setting up the questions it asks and the way it interacts with users.
In short, an Appointment/Calendar Bot simplifies the whole scheduling process, making it easier for you to manage your time and for others to book time with you. It’s like having a virtual assistant that’s always ready to help!
How to Create an Appointment/Calendar Bot
Creating an appointment or calendar bot with KaraboAI is a straightforward process. Follow this step-by-step guide to get started.
Step 1: Access the Appointment/Calendar Bot Section
- Visit KaraboAI: If you currently don't have an account with KaraboAI, the first step is to visit the website here.
- Access the Chatbots Menu: From the top navigation bar, click on “Chatbots.” A menu will pop up.
- Select Appointment/Calendar Bot: Choose the appointment/calendar option from the menu. You will be redirected to a detailed page that provides more information about this type of bot.
Step 2: Subscribe to KaraboAI
Creating an appointment/calendar bot requires a subscription:
- Create Subscription: Click on the “Create Subscription” button.
- Enter Your Email Address: Provide your email address and verify it.
- Complete Payment Instructions: Follow the instructions to proceed with the payment.
Step 3: Create an Appointment Bot
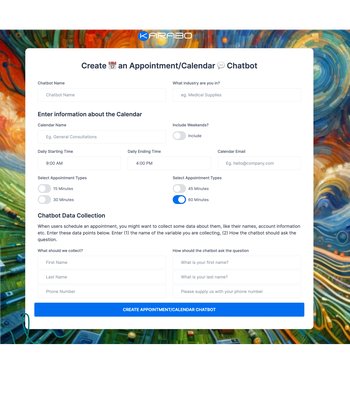
→ Provide Bot Information:
- Chatbot Name: Enter the name of your chatbot.
- Industry: Specify the industry you are in.
→ Enter Calendar Information:
- Calendar Name: Provide a name for your calendar.
- Include Weekends?: Choose whether to include weekends using a radio button.
- Daily Starting Time: Set the daily starting time for appointments.
- Daily Ending Time: Set the daily ending time for appointments.
- Calendar Email: Enter the email address associated with the calendar.
- Select Appointment Types: Choose the appointment durations (15 minutes, 30 minutes, 45 minutes, 60 minutes). You can select multiple types.
→ Chatbot Data Collection:
- Collect User Data: When users schedule an appointment, you may want to collect data such as their names and account information.
- Data Points: Enter the variables you want to collect and specify how the chatbot should ask for this information. Note that the email address is collected automatically by the system, so you don’t need to specify it here.
Step 4: Design Your Chatbot:
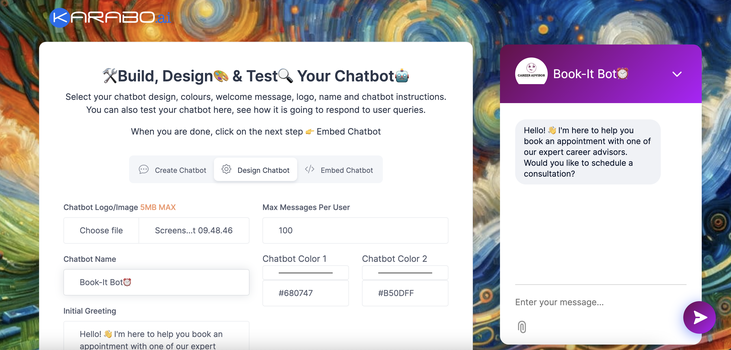
Here you'll add the finishing touches to your chatbot by customizing its appearance and branding. You can start by editing the bot's name to ensure it aligns with your brand identity. Next, upload your logo and choose the colors that best represent your business. This is also the stage where you craft the initial greeting message that users will see when they interact with your bot for the first time. These customization options allow you to create a chatbot that not only functions well but also looks professional and welcoming, enhancing the overall user experience.
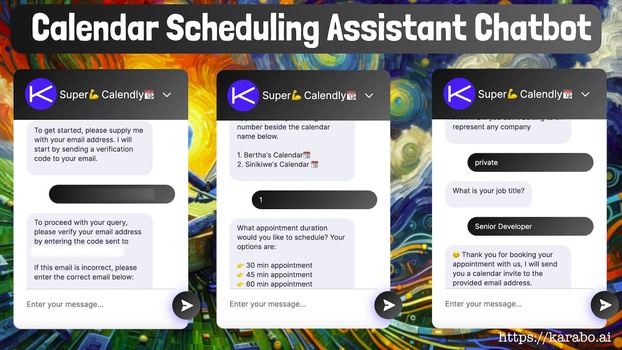
Step 5: Test and Launch Your Bot:
Once you've designed your chatbot, it's time to test and launch it. On the left side of the screen, you'll find a live preview that updates in real-time as you make changes, allowing you to see exactly how your bot will look and function. This auto-save feature ensures that your progress is saved continuously, so you don’t need to worry about losing any work. When you're satisfied with the appearance and performance of your chatbot, simply click on the "Embed Chatbot" button to finalize and launch your appointment scheduling bot. Your new AI-powered assistant is now ready to streamline your scheduling processes.
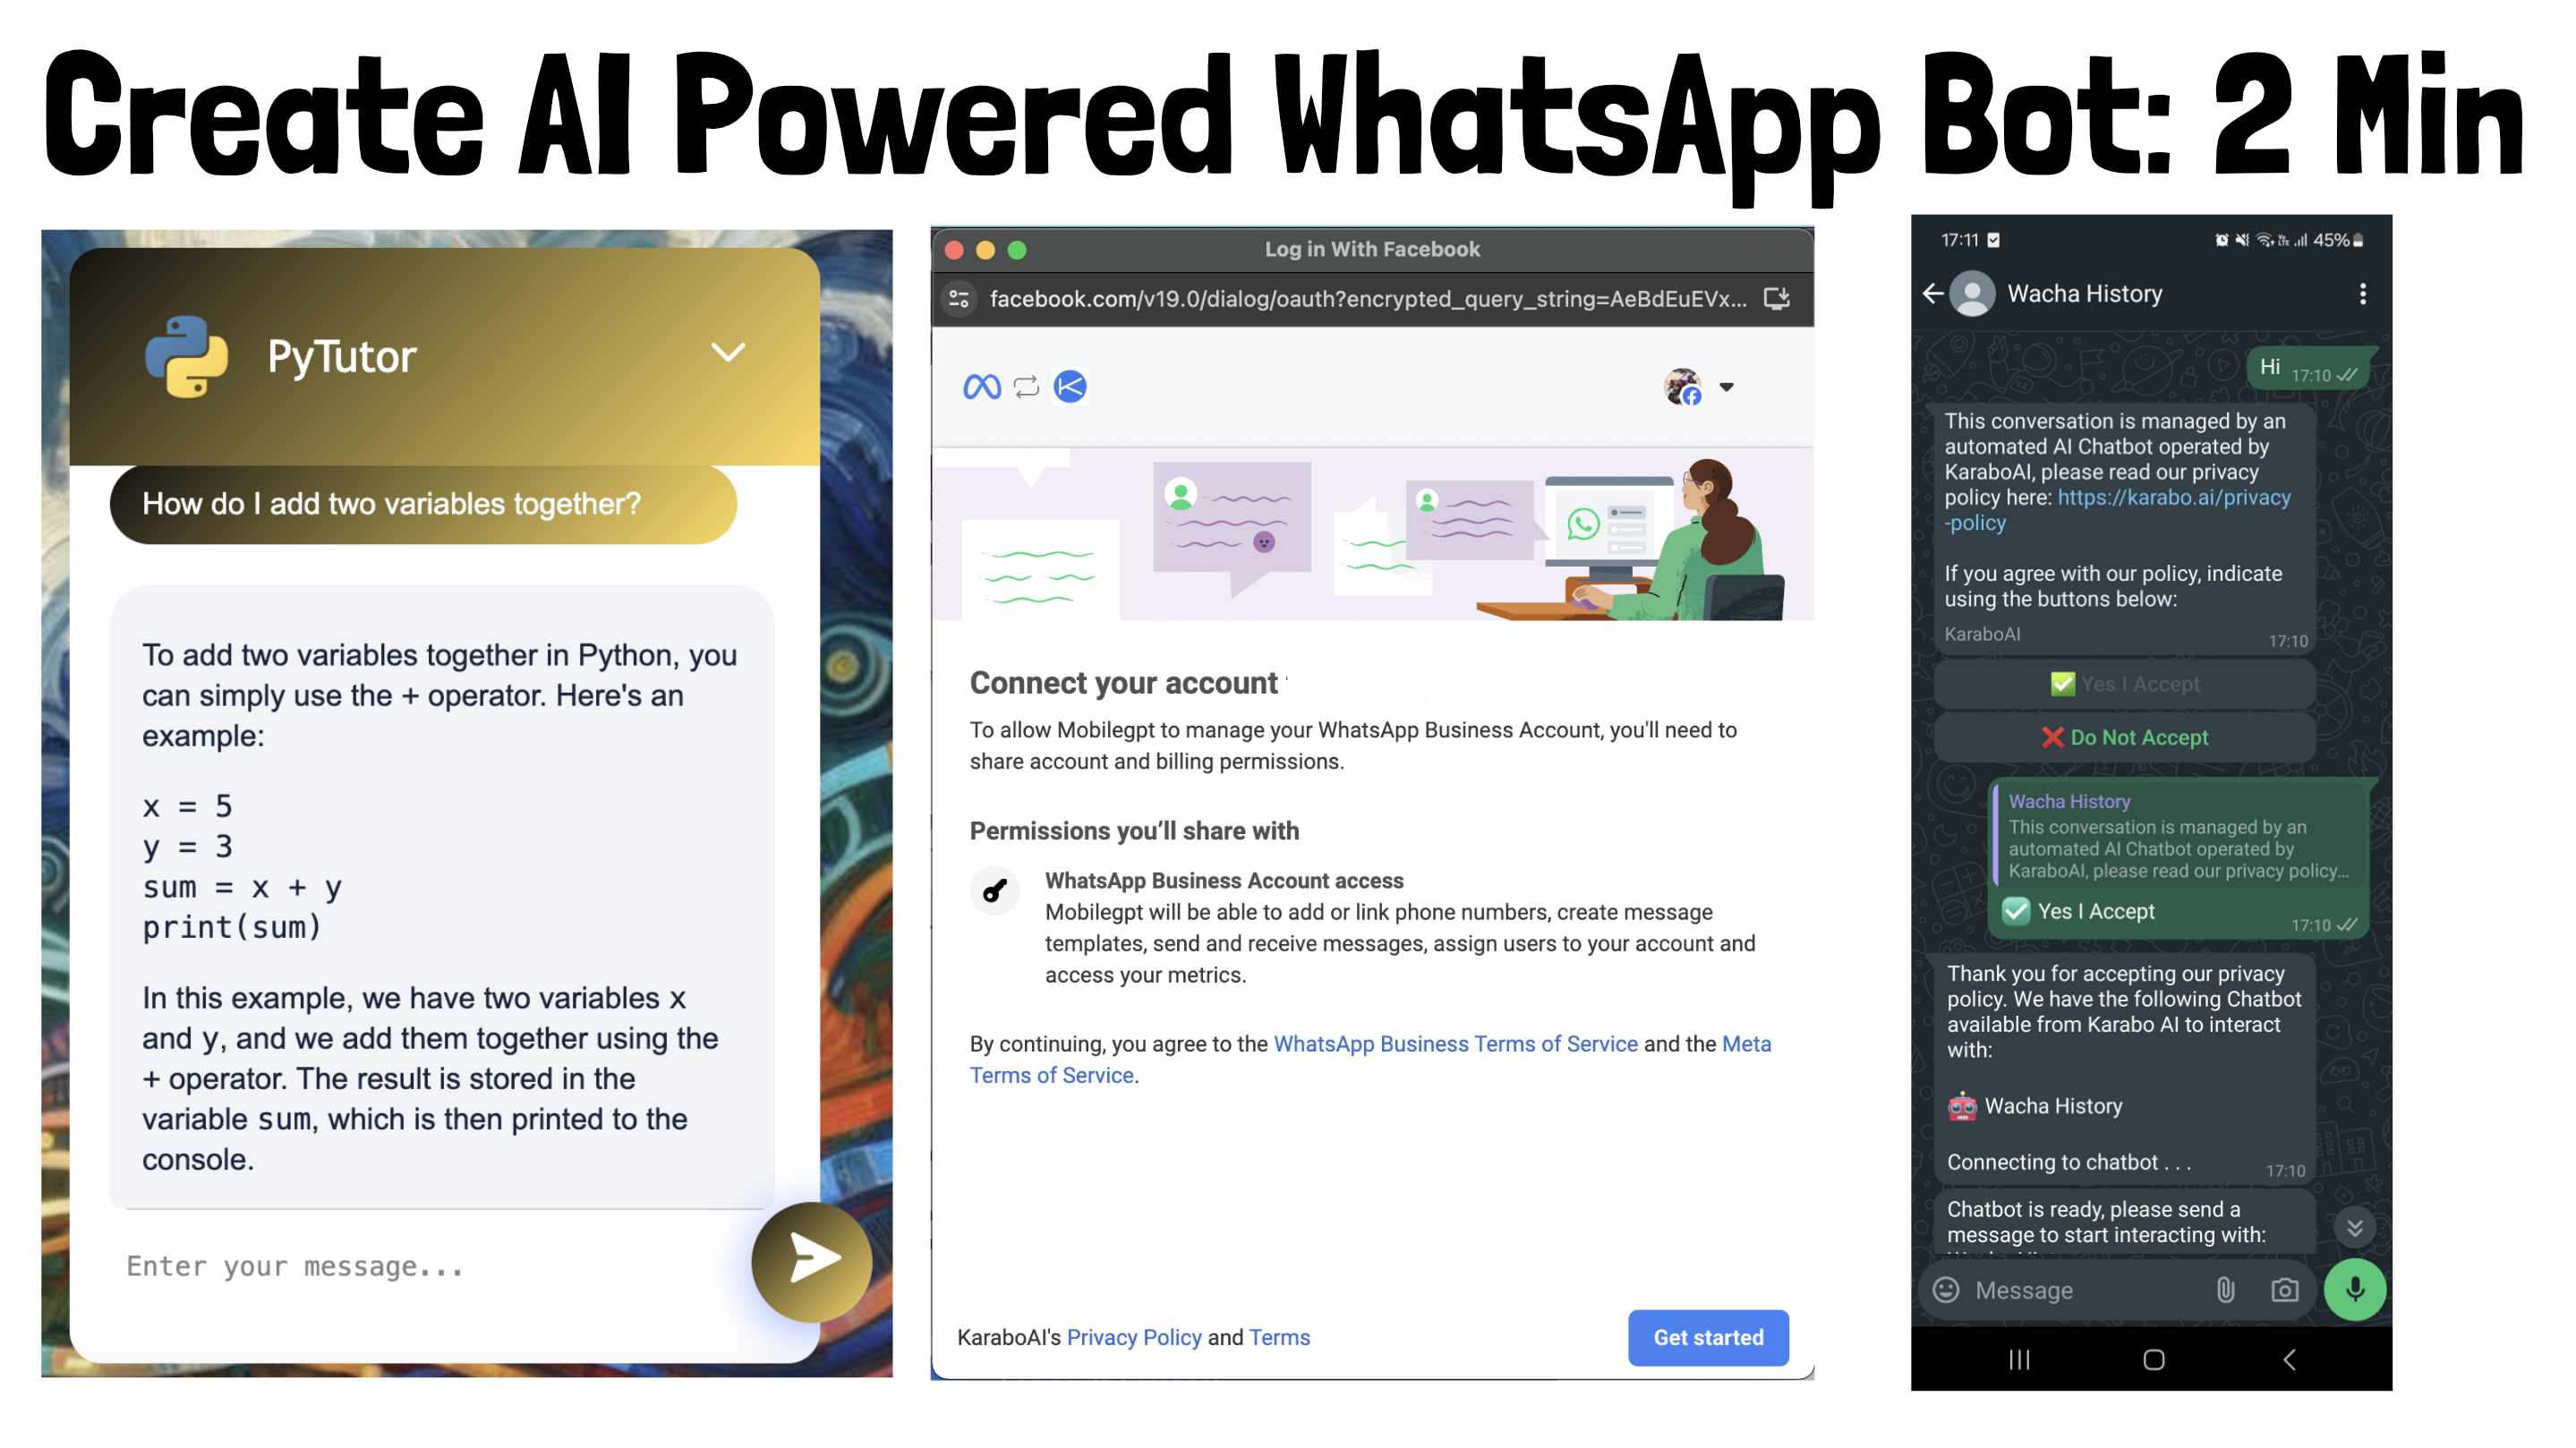
There are multiple ways to deploy your bot to suit your needs. You can embed it directly on your website for seamless integration, share a direct link to your bot for easy access, or deploy it on WhatsApp (note that Meta costs may apply). Each option provides flexibility in how you utilize your chatbot to engage with your audience.
Congratulations! You now have an appointment scheduling bot ready to streamline your scheduling process.
What Next
After creating your Calendar Chatbot - you might want to add additional calendars to the same chatbot, each chatbot is capable of managing up to 10 concurrent calendars. You can also integrate Google Calendar with each one of your calendars within the same chatbot.